Caring for Eggs & Caterpillars

Egg Care

Blue Morpho hatchlings
Young Morpho larvae which have just hatched and consumed their egg shell as their first meal!

Stages of development
Caterpillars reveal a new skin at every shed - often changing colour at different stages - illustrated by these fourth and fifth stage swallowtail larvae.
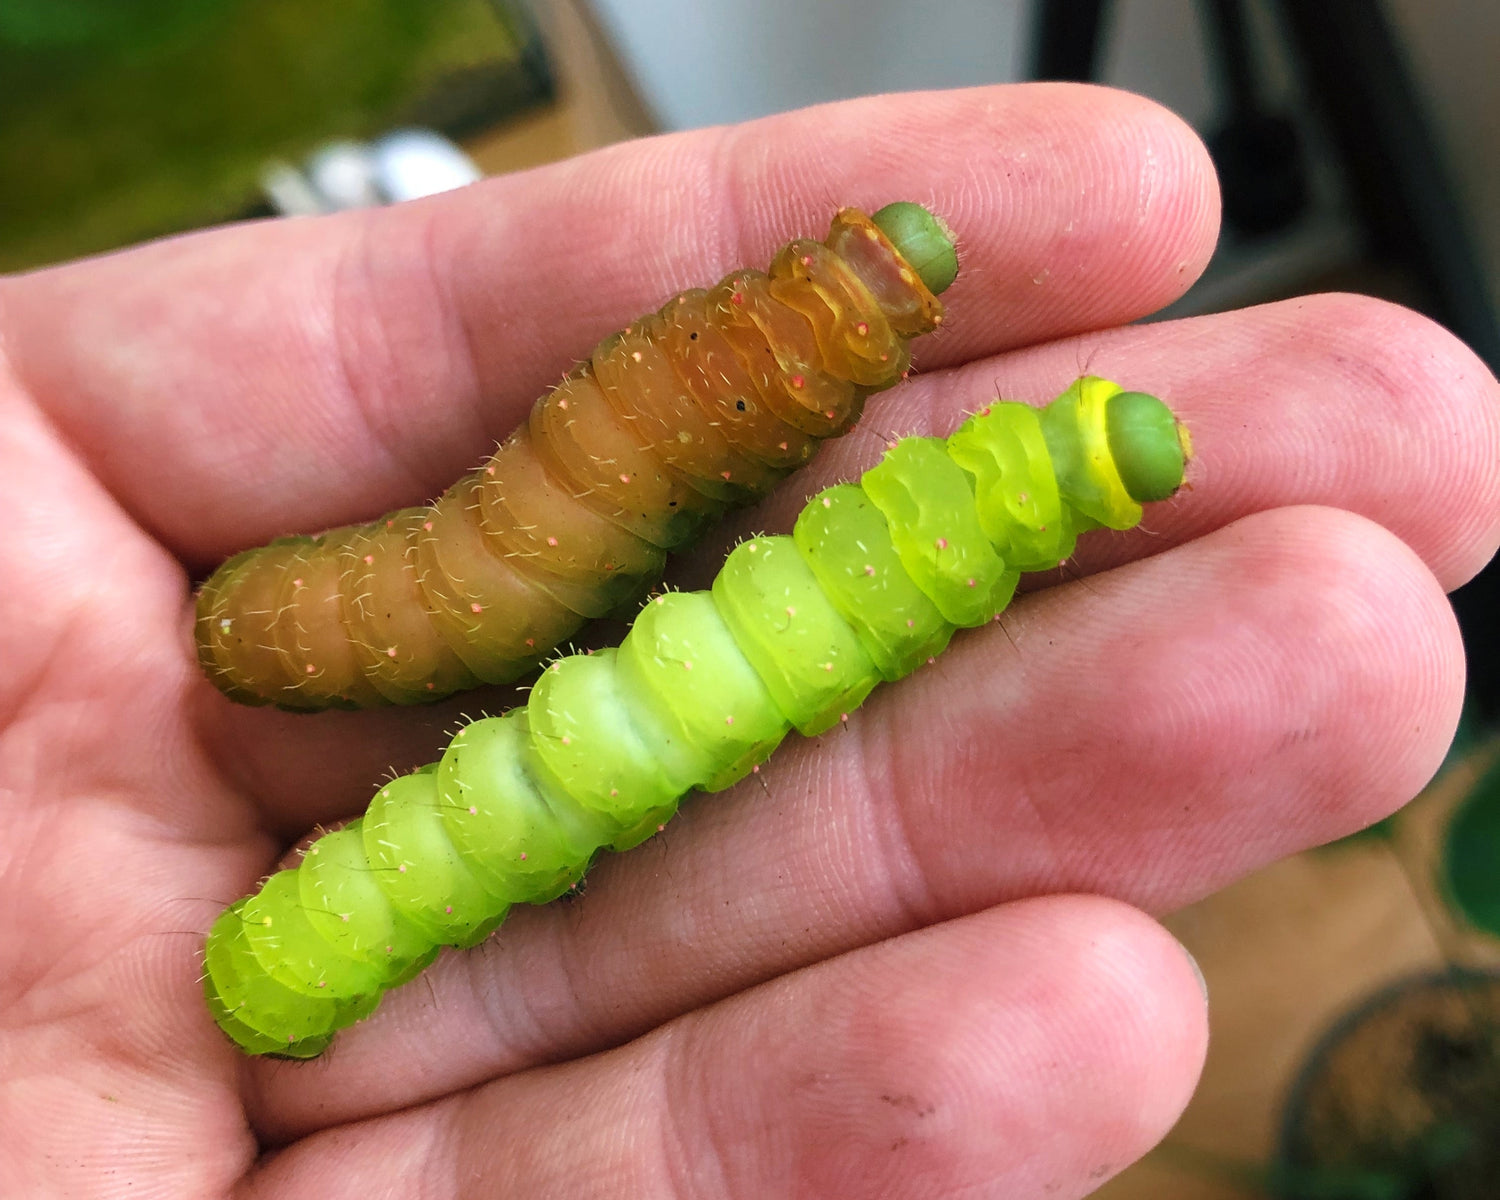
Mature larvae
These luna moth (Actias luna) caterpillars are fully grown, the upper one has turned orange as it is in the pre-pupa stage.

